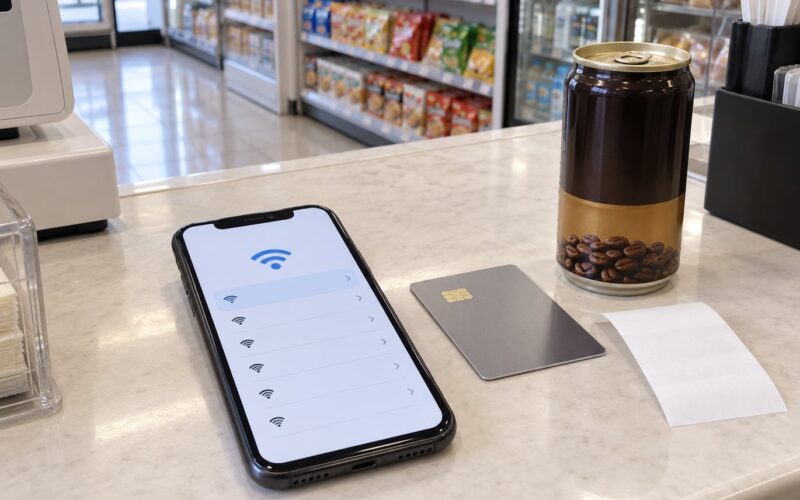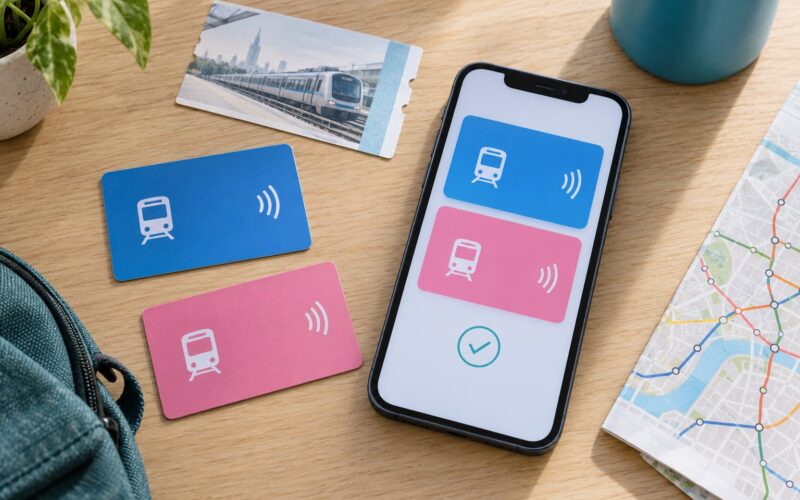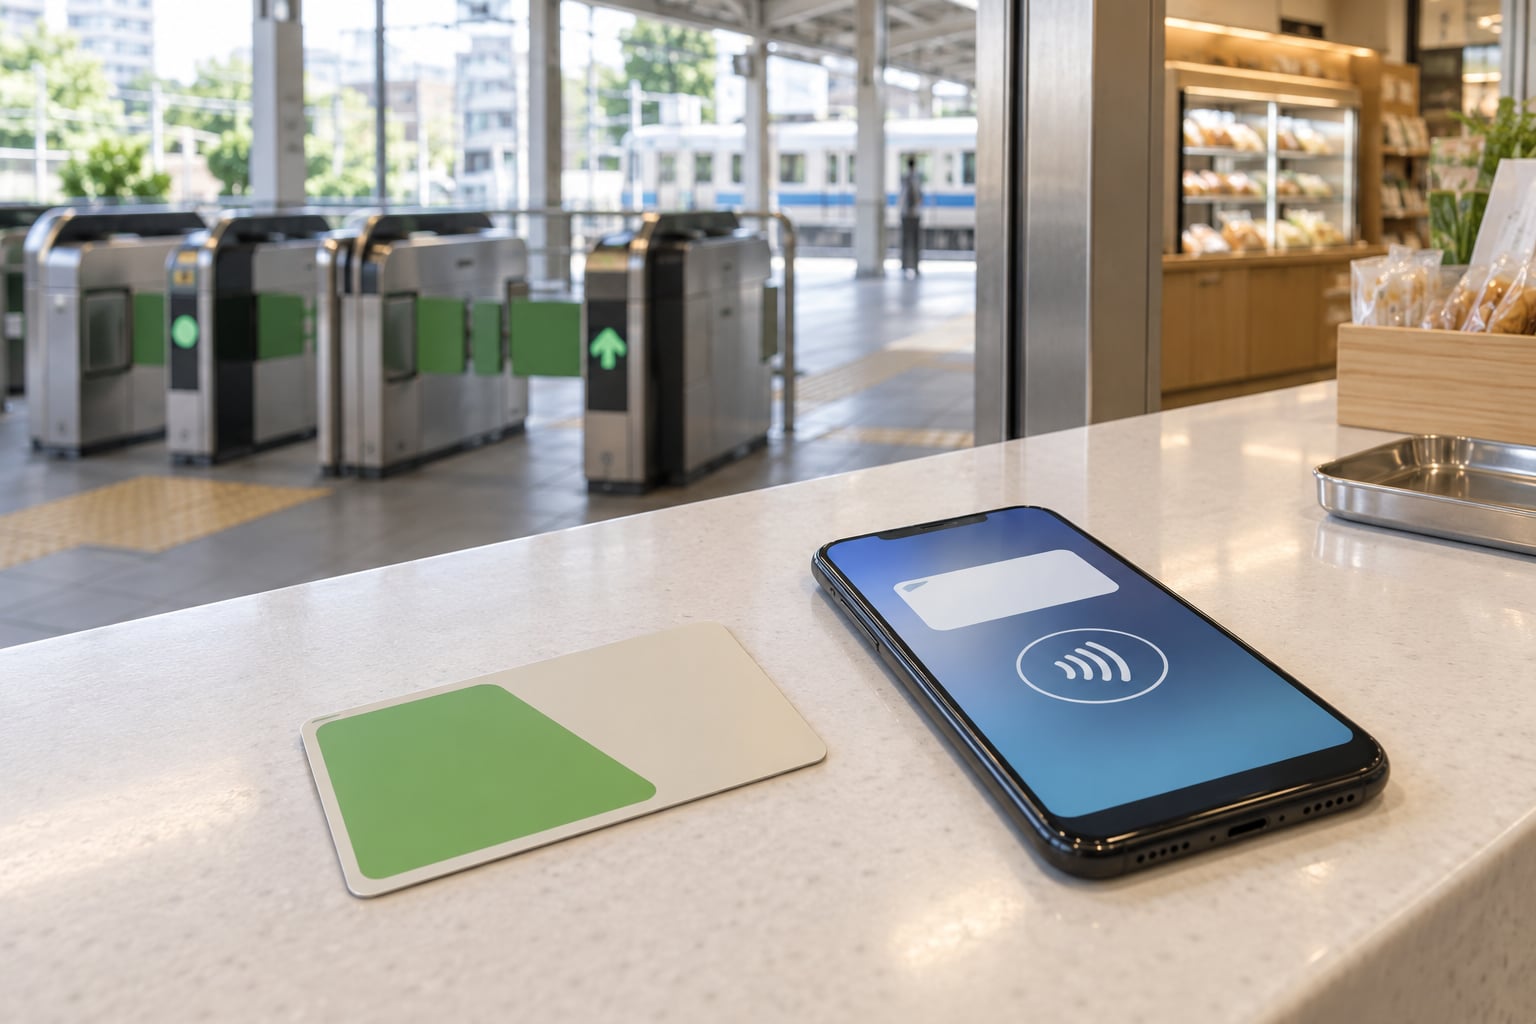
Learning how to pay with IC cards in Japan is the single easiest thing you can do for a trip there. One tap gets you through train gates, into convenience stores, and onto buses across the country, and the fare comes straight off the balance loaded on the card. Most people figure this out in about ten minutes at an airport or a major station, then stop thinking about it entirely.
The catch is that there are two kinds of IC card, and they behave differently. Physical cards are tiny plastic rectangles you tap and hand over; mobile versions live inside Apple Wallet on an iPhone or Apple Watch. Both work on the same national network, but only one of them can be refunded, and only one works on a non-Apple phone.
Below is the practical sequence: what you need, where to tap, how to check the balance, how to add money, and the mistakes that lock people out of a station. It takes about five minutes to read and saves a queue at a crowded gate.
Table of Contents
- 1What You Need
- 2Step-by-Step
- 3How to Pay with IC Cards on Public Transport
- 4How to Pay with IC Cards at Stores and Restaurants
- 5Check Your Balance Before You Run Out
- 6Add Money When Needed
- 7Common Mistakes
- 8Frequently Asked Questions
- 9Can I use one IC card in every city in Japan?
- 10Can I pay for a Shinkansen ticket with an IC card?
- 11What happens if I lose my IC card in Japan?
- 12Can I get a refund for the balance on a tourist IC card?
- 13Does Japan accept regular debit and credit cards?
- 14Can I use an Android phone with a digital IC card in Japan?
- 15Conclusion
What You Need
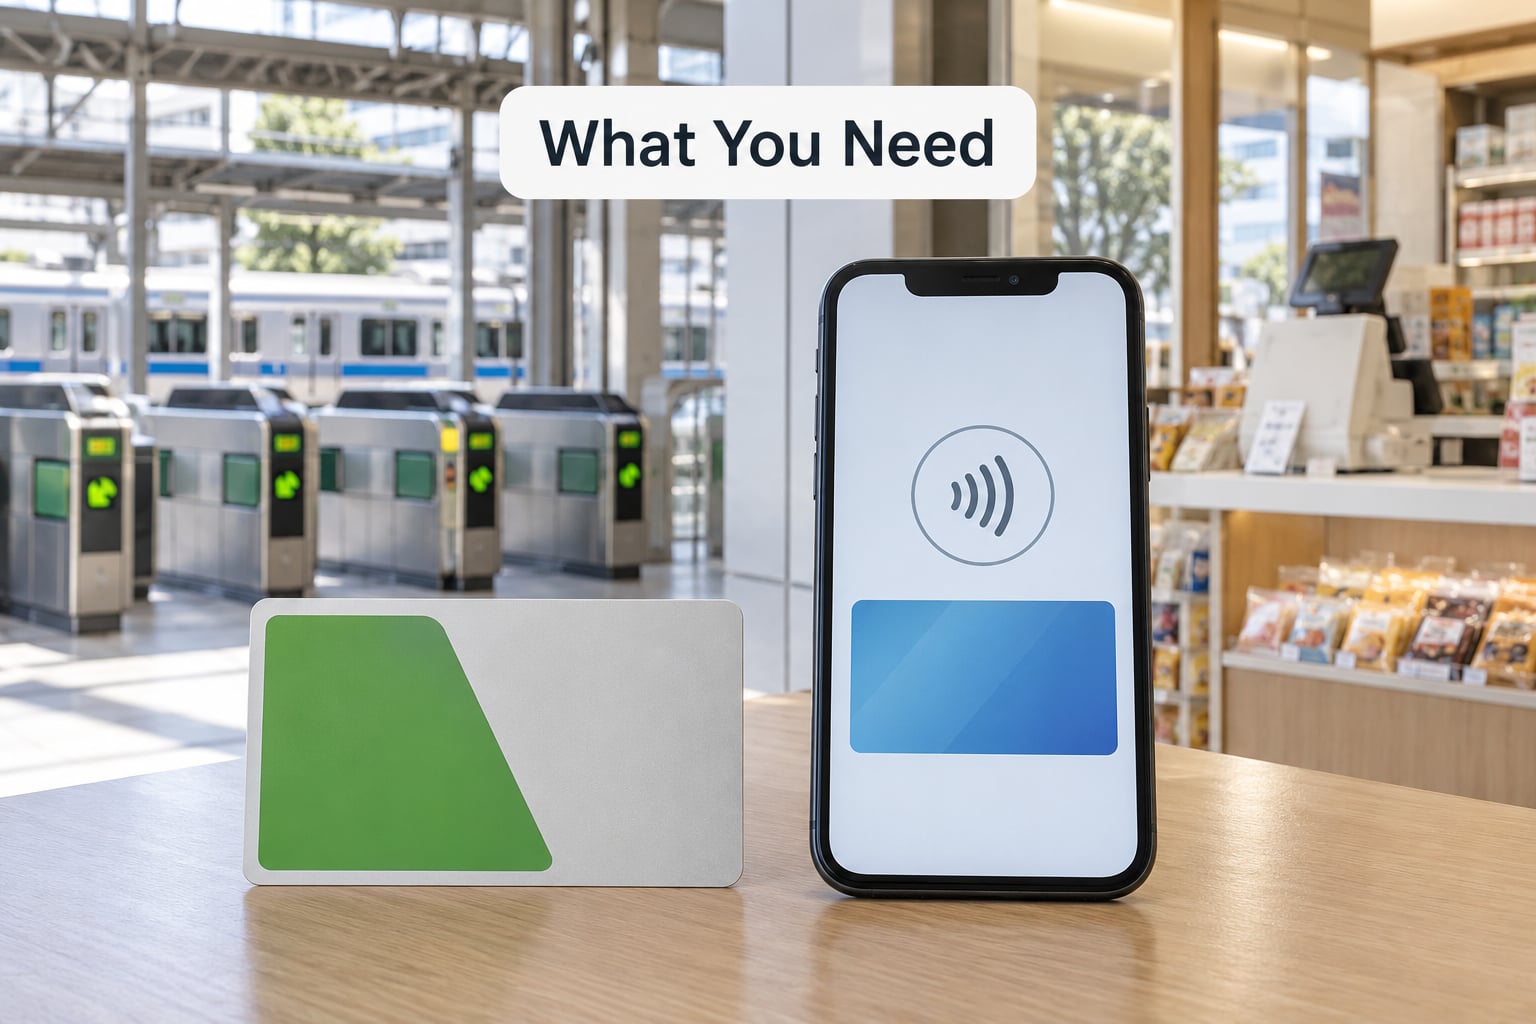
You need one of two things: a physical IC card with money loaded on it, or an iPhone with Apple Wallet holding a digital IC card. Everything else is optional.
Physical cards are the safe default. They cost a small refundable deposit, they last for years, and they work on any phone, any wallet, or no phone at all. Visitors can usually buy one at an airport service counter or a major station ticket office, and convenience store counters in cities like Tokyo and Osaka often stock them too.
Digital versions need an iPhone XS or newer, or an Apple Watch. They work well, they sit in your existing wallet, and they do not need a separate piece of plastic. Android visitors cannot add a digital IC card to their phone, because the system requires a Japanese mobile wallet service that domestic carriers install. Android users need a physical card.
The major cards all sit on the same national network, so one card works almost anywhere in the country regardless of which region issued it.
The main cards, and where each one comes from:
- Suica — Tokyo and Kanto. 500 yen deposit, refundable, and available in Apple Wallet.
- Pasmo — Tokyo and Kanto. 500 yen deposit, refundable, and available in Apple Wallet.
- ICOCA — Kansai, including Osaka and Kyoto. 500 yen deposit, refundable, and available in Apple Wallet.
- Kitaca — Hokkaido. 500 yen deposit, refundable, and available in Apple Wallet.
- Toica — Chubu, including Nagoya. 500 yen deposit, refundable, and available in Apple Wallet.
- Manaca — the Tokai region. 500 yen deposit, refundable, and available in Apple Wallet.
- Welcome Suica — a tourist card that works nationwide. No deposit, no refund, and available in Apple Wallet.
- ICOCA Kansai One Pass — a regional visitor pass limited to Kansai. No deposit, no refund, and no digital version.
Two things people get wrong here. First, the deposit on a regular card is separate from the money you load, and both are returned to you if you hand the card back. Second, tourist cards like the Welcome Suica have no deposit and no refund, so any balance on them is simply gone when they expire.
Physical card sales have been unreliable in recent years because of chip supply problems. If a counter says a card is out, ask for the other brand, then the digital version, then walk to a different counter or station. In practice you will not be stuck for long.
Step-by-Step
How to Pay with IC Cards on Public Transport
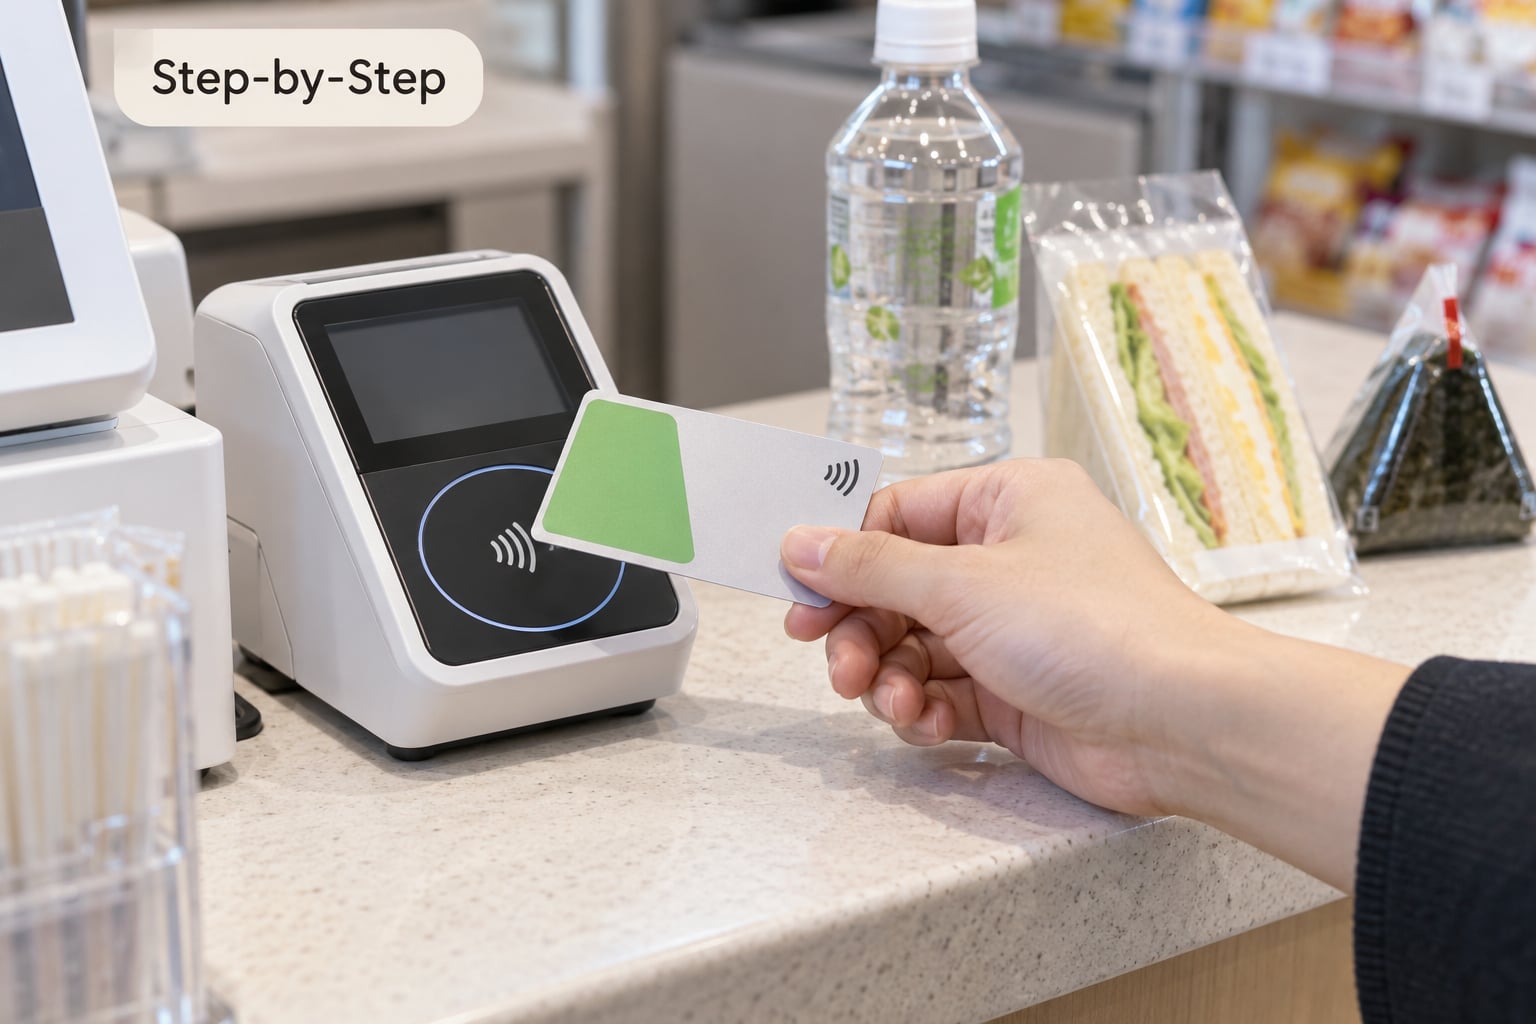
Tap the card on the reader at the ticket gate to get in, and tap again at the exit gate to get out. The reader is the flat panel marked with an IC card logo, usually beside the paper ticket slot or on a small yellow pad at a single gate.
Hold the card flat against it for about a second. You will hear a beep, the light turns green, and the gate opens. That is the whole interaction. If you hear a higher error sound or see a red light, the card was not read, so tap again rather than walking through without it.
Tap in first, then tap out. Reversing the order leaves a gap in your travel record and the machine may charge you the maximum fare for that segment instead of the real one. Forgetting to tap out is the most common way people end up losing a few hundred yen without knowing why.
One card covers trains, subways and buses operated by participating companies across the whole country, including private railways that have nothing to do with the card’s issuer. Transfers inside the paid area are free at most operators, so you do not need to tap a second time when you change lines through a connected station. Check the station signage, since a handful of operators still charge a small transfer fee.
If a gate refuses to open, do not force it. Go to the staffed fare adjustment counter next to the gate, show the card, and pay any fare difference in cash. That resolves it in a minute or two.
How to Pay with IC Cards at Stores and Restaurants
Convenience stores, drink vending machines, coin lockers, some supermarkets, and a large share of chain restaurants accept IC cards. Look for the IC card logo on the reader or on the window sticker before you queue.
There are two separate functions on the card, and it helps to keep them apart. The transport function handles train and bus fares and is managed by the rail company. The electronic money function handles shop purchases and is managed by the card issuer. Both draw from the same stored balance, but they are tracked separately, and some cards have a lower spending cap on one than the other.
At a counter, hand the card over like an ordinary bank card and say the amount, or tap it yourself on the contactless pad and watch for the confirmation. Some terminals are tap-only with no slot, and some readers sit at a slight angle that makes a thin card harder to read. Removing the card from its case first solves it more often than not.
These payments do not need a network connection, so they work underground and in older shops without wifi. Nothing needs to be pressed or held longer than a second.
Paying the exact remaining balance and covering the rest in cash is normal here. If a purchase costs more than what is on the card, tell the cashier how much of the total to put on the card, then hand over cash for the rest.
Check Your Balance Before You Run Out
Check your balance at any station charge machine, where you tap the card and the remaining amount appears on screen. Many gates also show the balance briefly after you tap out, which is useful when you have no spare time.
At a shop, some registers and card readers show the remaining balance once the transaction completes. In Apple Wallet, the card sits in the Transit section of the app with its current balance underneath. The dedicated Suica app for digital cards is Japanese-only, which is why plenty of visitors give up on it and use the Wallet app instead.
A balance in the low hundreds of yen is the signal to top up. The real warning sign is a failed tap at a gate, because that happens mid-journey with people behind you. Loading a couple of thousand yen at once costs nothing and removes the problem for days.
The stored value cap is around 20,000 yen on most cards, so you cannot load everything on day one, but you can top up as often as you like.
Add Money When Needed
Station charge machines sit inside most ticket gates and take cash, and some accept cards. Find the yellow or orange top-up machines, tap your IC card on the reader, pick an amount, and feed in notes or coins. Coins under ten yen are not accepted.
Convenience store counters will top up a physical card for you. Hand over the card and say Suica o chaji onegaishimasu, meaning please charge my Suica. It works for other brands too since the machines read any card on the network.
Seven-Eleven ATMs can top up physical IC cards directly, which makes them the easiest option when you are not near a station. Load a card at the machine, choose the ATM, select the charge option, and tap your IC card when prompted.
For a digital card, open Apple Wallet and tap the card, then use the add money button. Some banks limit how much they will add in one go, and a few fee a small percentage on larger amounts, so topping up in smaller batches can be cheaper.
A rough guide for load amounts: a busy day of trains, buses, a convenience store lunch and a drink runs in the range of 2,000 to 3,000 yen. Multiply that by your trip length, then add a buffer for a taxi or a locker.
- 3 to 4 days: transport and spending runs around 7,000 to 10,000 yen, so load about 8,000 yen to start.
- 7 to 10 days: expect around 15,000 to 22,000 yen, so load 15,000 yen and top up mid-trip.
- 14 days or more: expect 25,000 yen or more, so load the 20,000 yen maximum and add more as you go.
Because the cap sits near 20,000 yen, a long trip means at least one extra visit to a charge machine. Budget ten minutes for it.
Common Mistakes
Tapping the wrong side of the card. The chip reads only on one face. If the light stays red, flip the card over and tap the other face before assuming anything is broken.
Leaving the card inside a thick case or wallet. A padded sleeve or a stack of bank cards between the IC card and the reader stops the signal. Pull it out and tap bare.
Trying to tap out before tapping in. The exit gate rejects you and the fare record breaks. If you already rode without tapping in, use the fare adjustment counter and pay the fare in cash.
Assuming the card covers everywhere in one direction. Cards work across the country, but a few regional passes and prepaid rail passes are restricted to their own area. Know which pass you are holding before a long trip.
Trying to top up a mobile card at a station machine. Station machines read physical plastic. Digital cards get topped up in Apple Wallet or through the issuer’s app.
Expecting money back from a tourist card. The Welcome Suica has no deposit and no refund, and its balance is lost when the card expires. Load small amounts if you want to protect what is left.
Trying to share one card between two people. A gate records one entry and one exit. Two people on one card means a broken record and a maximum fare charge. Each traveller needs their own card.
Forgetting to tap out and paying a maximum fare. If you realize at the exit, tap your card anyway, then visit the fare adjustment counter to have the correct fare calculated and the difference returned.
Frequently Asked Questions
Can I use one IC card in every city in Japan?
Yes. Suica, Pasmo, ICOCA, Kitaca, Toica and the other major cards all run on the same national network, so a card bought in Tokyo works in Osaka, Kyoto, Hokkaido and anywhere else in the country. The exceptions are regional visitor passes such as the Kansai One Pass and prepaid rail passes, which only work inside their own area. Check the pass name before you travel rather than assuming every card behaves the same.
Can I pay for a Shinkansen ticket with an IC card?
You can use an IC card for reserved-seat and unreserved-car tickets, but you cannot tap in and out of Shinkansen stations the way you do on local lines. Instead, touch the card on the Touch de Go reader near the ticket gates to register the trip and pay the fare. You need a valid passport for this, and it must be done at each station along the route. Buy a physical ticket from a machine or counter if you want a guaranteed seat.
What happens if I lose my IC card in Japan?
A physical card with a registered deposit can be reported to the issuing operator, and some offices will refund it to the card holder on a physical card. A registered mobile card in Apple Wallet can be disabled from your other Apple devices if you use Find My. A tourist card without a deposit, such as the Welcome Suica, has no refund path at all, so the remaining balance is lost. Assume the money on it is gone and carry a backup.
Can I get a refund for the balance on a tourist IC card?
Usually not. Regular cards like Suica and ICOCA return the deposit plus any remaining balance when you hand the card back at a staffed counter. Tourist cards such as the Welcome Suica have no deposit, no refund, and a fixed validity window, so whatever is loaded on them disappears when they expire. Plan on spending down the balance before the end of your trip rather than expecting money back at the airport.
Does Japan accept regular debit and credit cards?
Yes, at larger shops, chain restaurants and convenience stores, and increasingly at vending machines and small eateries. Two things catch visitors out. Cash remains more common than anywhere else in the developed world, so keep yen for small shops, temples, market stalls and buses. Contactless bank card taps from a phone are also widely accepted, which means a phone wallet can cover you even without an IC card.
Can I use an Android phone with a digital IC card in Japan?
No. Digital IC cards use a domestic mobile wallet service installed by Japanese carriers, which is not available on phones bought overseas. Physical IC cards work on any phone, because you tap the card itself rather than the handset. If you are on Android, buy a physical card at an airport or station counter and use it with your phone’s NFC antenna or a cheap card holder. That is the only reliable route on Android.
Conclusion
Start by identifying which card you are holding. A refundable physical card with a deposit is the most flexible option, while a digital card suits anyone on a recent iPhone who prefers not to carry plastic.
Next, check what the card supports and how much money is on it. A station charge machine or a convenience store counter gives you both in a few seconds, and loading a few thousand yen up front removes the failed-tap problem for days.
After that, tap only at readers marked with the IC card logo, tap in before tap out every single time, and carry cash as a backup for small shops and places without a reader. Follow those three habits and getting around Japan becomes the least complicated part of the trip.