
How to localize a website for Japan comes down to adapting far more than the words on the page. Script choice, politeness level, typography, line breaking, form fields, date and currency formats, URL structure, search terms and support channels all change, and each one is a place where a half-finished job shows. The good news is that the work is sequential. Research, glossary, translation, adaptation, testing, launch.
A mid-size marketing site usually takes six to twelve weeks from first research to a confident Japanese launch, and most of that calendar is review time rather than translation time. Most of the difficulty is not linguistic either. It is deciding who the audience is, and then building a site that does not break when a sentence with no spaces between its words hits a button sized for English.
Here is the short version before the detail:
- Localization is adaptation, not translation. A correct sentence that still feels wrong to a native reader is a failed page.
- Decide residents versus visitors first. That single choice determines payments, support hours, addresses and tone.
- Japanese has no spaces between words, so line wrapping, buttons and nav bars need different layout rules.
- Set the language tags and hreflang correctly on day one. Fixing URL structure after indexing is painful.
- A native Japanese reviewer reading the site in context, not a translation tool, is the last gate before launch.
Table of Contents
- 1What You Need
- 2Step-by-Step
- 3Step 1: Define the audience and Japanese market context
- 4Step 2: Research Japanese users and competitors
- 5Step 3: Build a Japanese glossary and content style guide
- 6Step 4: Translate and adapt the content
- 7Step 5: Adapt design, mobile UX, and interactions
- 8Step 6: Localize technical settings, SEO, and measurement
- 9Step 7: Test with Japanese readers and fix the launch
- 10Common Mistakes
- 11Frequently Asked Questions
- 12What is the difference between translating and localizing a website for Japan?
- 13Do I need a separate domain or URL for Japanese users?
- 14Do I need a native Japanese reviewer if I use an AI translation tool?
- 15How long does it take to localize a website for Japan?
- 16How much does Japanese website localization cost?
- 17Conclusion
What You Need
You can run a competent Japanese localization with a small team, but a handful of things have to exist before anyone starts typing Japanese copy. Getting these in place early is what keeps the project from stalling halfway through review.
A native Japanese reviewer. This is the person who reads the finished pages the way a customer would, on a phone, in context. Freelance native reviewers with web experience are realistic to find; a bilingual colleague whose Japanese is rusty is not the same thing.
A glossary and style guide. The glossary is a termbase that fixes one approved translation for every recurring word: your product names, feature names, verbs, and the words that have Japanese conventions you must follow. The style guide covers register, punctuation, numbers and what stays in English. Both should be shared with translators before work starts.
Japanese keyword research access. Transliterating “best project management software” into katakana would be a wasted page. You need someone who can search Japanese and show you which phrases have real volume, and whether they map to the same product category in Japan.
A translation tool or workflow. A computer-assisted translation tool, a translation management system, or at minimum a shared spreadsheet with one row per string, a status column and a notes column. Version control is what stops the same feature shipping with three different names.
A staging environment and device test matrix. A Japanese URL that is not linked publicly yet, plus a checklist covering iPhone Safari, Android Chrome, recent desktop Safari and Chrome, and Windows display scaling. Layout breaks for Japanese text mostly appear on real devices, not in a desktop preview.
Analytics and consent handling. Segment by language and country from day one so you can tell whether the Japanese pages earn traffic, and make sure your cookie consent and analytics setup meets Japan’s APPI requirements before you start collecting data from Japanese visitors.
Step-by-Step
Step 1: Define the audience and Japanese market context
The first decision is who the Japanese version is actually for, because it changes nearly everything downstream. If the audience is Japanese residents, you are building a local product: local payments, a Japanese support contact, domestic shipping promises, JPY pricing, and a tone that assumes the reader knows the market. If the audience is international visitors already in Japan, the job is lighter: navigation help, a Japanese summary of key pages and a clear path to a support team with hours.
Most teams serve one of those two audiences badly by trying to serve both with the same pages. Decide first, and write the decision down where marketing, support and engineering can all see it.
Once the audience is fixed, note the regional assumptions that follow: which currency you display, which payment methods you accept at checkout, what your support hours are in JST, whether you publish a Japanese entity address, and which laws apply to the data you collect. Japan’s APPI is the one most teams miss; treat personal information handling as a design question, not a legal afterthought.
Step 2: Research Japanese users and competitors
Spend real time on Japanese-language sites before you write anything. Look at the top three or four competitors in your category and record how they handle the things visitors actually decide on: what the primary call to action says, how dense the pricing or plan pages are, what happens on the contact form, and whether the mobile navigation collapses the way yours does.
Two patterns come up repeatedly. Japanese B2B sites lean information-dense, listing capabilities and specifications rather than relying on a short emotional pitch. And trust signals carry more weight than they do in English-language marketing: a visible Japanese-language support contact, an address, clear company information and reviews written in Japanese by real customers.
Read the reviews and the community discussion on your competitors, not just their marketing. That is where you find what Japanese buyers are annoyed about, and those complaints are usually better localization opportunities than anything a competitor’s homepage claims.
On search, check what Japanese users actually type for your category. The Japanese term for your category may be narrower, broader or simply different from a literal translation, and searching in Japanese is the only reliable way to find out which.
Step 3: Build a Japanese glossary and content style guide
The glossary is the piece teams skip and then regret. Build it before translation starts and freeze it for the project, so page titles, app store listings, ads and support docs all use the same word for the same thing.
Three decisions drive most of it.
Register. Japanese politeness levels are not interchangeable. Teineigo (です・ます) is polite and works for most customer-facing web copy. Sonkeigo elevates the other party and suits very formal business contexts. Kenjougo humble-forms the speaker, which is right when a company talks about itself or apologises. Plain form, futsuugo, is normal inside short UI labels and help text. Getting this wrong in a B2B context reads as either rude or oddly familiar.
Script. Kanji carries meaning, hiragana carries grammar and sounds that kanji cannot represent, katakana carries loanwords and technical terms, and romaji carries brand names and anything registered as a trademark. Most Japanese sentences mix all four. A good default for a consumer or B2B site is to write the first time a term appears in katakana, then use kanji for common words and hiragana for particles.
The katakana trap. Japanese has its own pseudo-English loanwords, sometimes called wasei-eigo, and they do not mean what an English speaker assumes. Kuraimu reads as claim to a Japanese customer, but it means a complaint, so a warranty claim becomes something closer to クレームを付ける. Handaru is a steering wheel, not a username handle. Baiiku means motorcycle only, not bicycle. Eakon covers both heating and cooling. A glossary entry or two on these saves a support ticket later.
The style guide should also fix small things: dates as year-month-day, yen written without decimals, Arabic numerals for most counts, no spaces before Japanese punctuation, full-width characters for Japanese text and half-width for URLs and codes, and how your brand name and product names are written in katakana or kanji.
Step 4: Translate and adapt the content
Translation means carrying the words across. Localization means carrying the meaning across, which usually means rewriting the sentence. Japanese is subject-object-verb, it omits subjects once context is clear, and it relies on connective forms at the end of clauses. English marketing copy that stacks three short punchy sentences often collapses into one long Japanese sentence that loses all its punch.
That is where transcreation earns its cost. On a hero headline, a pricing claim or an ad, brief a translator to rebuild the message rather than map the words, and give them more than one option to choose from.
Concrete things to adapt rather than translate:
- Call to action buttons. “Get started free” is not a literal string. 無料で始める, 今すぐ体験する and 無料で試す all exist, and which one fits depends on whether you are optimising for signup volume or for a qualified trial. Test button labels with real users, because the wrong one costs signups quietly.
- Claims and superlatives. A “world’s leading platform” claim rarely survives without evidence a Japanese reader will accept. Soften it or substantiate it.
- Examples and references. Currency, addresses, phone numbers, holidays, sports references and school systems all assume a country. Replace them.
- Error messages. Japanese users expect the cause plus the next action, in polite form: something closer to 権限がありません。管理者にお問い合わせください, not a bare failure message.
- Legal and safety text. Have a qualified reviewer check disclaimers, warranty language and health or financial claims rather than trusting the translator’s fluency.
Native reviewers consistently reject raw machine output for customer-facing pages. Machine translation with human post-editing is reasonable for drafts, internal UI strings and repetitive lists, but it is not a substitute for a person who writes Japanese for a living.
Step 5: Adapt design, mobile UX, and interactions
This is where Japanese sites most often break, and it is a layout problem before it is a language problem. Japanese has no spaces between words, so line breaking behaves nothing like English, and any element sized to English character counts will overflow.
Start with the document and the font stack:
<html lang="ja">

html[lang="ja"] {
  font-family: "Noto Sans JP", "Hiragino Kaku Gothic ProN",
               "Yu Gothic", Meiryo, sans-serif;
  word-break: normal;
  overflow-wrap: anywhere;
  line-break: strict;
}
lang="ja" tells the browser and screen readers which language rules to apply. line-break: strict enables kinsoku shori, the rules that stop small kana, closing brackets and punctuation from starting a line. word-break: normal is important: setting keep-all or a wide break rule can produce very short lines and ugly gaps.
Set a body size of at least 16px, with line-height around 1.8. Japanese text at 14px is genuinely hard to read, and small grey labels in English become unreadable when they turn into full-width characters.
Full Japanese web fonts can run to several megabytes. Subset them to the characters you actually use, preload the weight you use above the fold, and keep a system font fallback so a failed font load does not leave boxes of tofu.
On layout, never fix a button width to its English label. Let buttons size to content with padding, allow labels to wrap, and give navigation items enough room to grow. Japanese text often runs shorter than English for the same meaning, but the character count can be higher, so test both directions.
Forms need the most work. Japanese names go surname first, so order the fields that way and consider a furigana field, which is small phonetic kana beside the kanji and is commonly expected on checkout forms. The postal code format is 〒100-0001, mobile numbers are 090-1234-5678, Tokyo landlines are 03-1234-5678 and other regional landlines keep their area code without a leading zero. Dates read year first (2026年10月3日) or as YYYY/MM/DD, never month-name-first US style. Mark every input with the IME so half-width and full-width entry both validate, and set autocomplete attributes that Japanese browsers and mobile keyboards recognise for postal code and phone number.
Check your content density too. Japanese pages that feel sparse in an English review are often correct, and the reverse is also true: pages that feel crowded after translation usually need shorter sentences rather than smaller type.
Step 6: Localize technical settings, SEO, and measurement
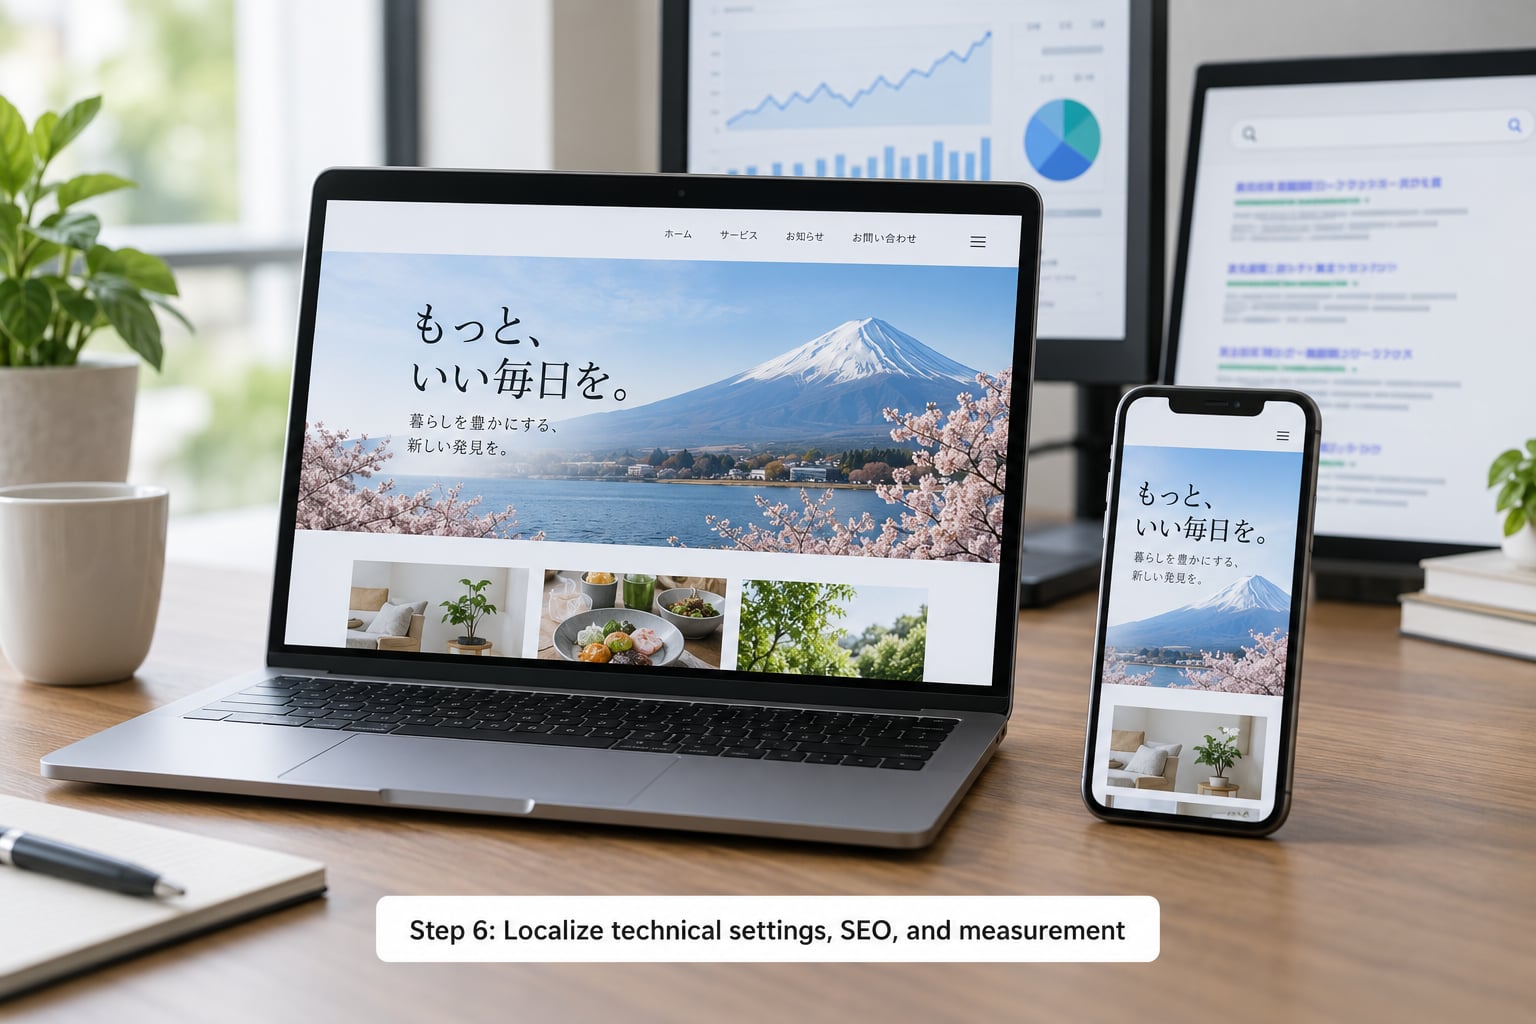
Set the technical layer correctly before you launch, because URL and language-tag mistakes are the hardest to unpick later. If you have wondered how to localize a website for Japan from an SEO angle rather than a copy angle, this is the section that decides whether any of the work gets found.
For most teams, a /ja/ subfolder on your existing domain is the right default. It keeps authority and links in one place, keeps the security and infrastructure story simple, and lets you add other languages later without new contracts. A subdomain or a country-code domain buys you little extra for a Japanese site unless you have a strong local-partner or legal reason.
Whatever you choose, mark it up properly and make the versions reciprocate, or you will create duplicate-content confusion rather than clarity:
<link rel="alternate" hreflang="ja" href="https://example.com/ja/">
<link rel="alternate" hreflang="en" href="https://example.com/en/">
<link rel="alternate" hreflang="x-default" href="https://example.com/">

<link rel="canonical" href="https://example.com/ja/">
Every language version needs a canonical pointing at itself, and each page must list all versions including itself. Keep hreflang values simple, such as ja rather than ja-JP, and serve the pages from a server or CDN location with reasonable latency to Japan.
For Japanese SEO, treat the pages as new pages. Write Japanese title tags, meta descriptions and alt text rather than translating the English ones, because Japanese character counts and click-through behaviour differ from English. Map each page to a keyword researched in Japanese. Register the site with Japanese search engines and check how it appears for searches you care about, since Japanese query behaviour does not match English one-to-one. If you have a presence on other Japanese channels such as Yahoo! Japan or LINE, treat them as part of the launch rather than a later experiment.
Give people a visible language switcher that remembers their choice. Community experience is consistent on this: an explicit toggle reads as more trustworthy than an automatic redirect that traps someone on the wrong language.
Finally, set up measurement: a Japanese content group in analytics, campaign tracking for Japanese traffic, and a privacy-consent flow that meets APPI expectations before you start recording data from Japanese visitors.
Step 7: Test with Japanese readers and fix the launch
Quality assurance here is two jobs that people often merge, and they catch different things. Linguistic QA checks the words against the glossary and style guide: consistent terminology, correct register, no leftover English strings in the interface, no broken sentences in error messages and empty states.
In-context review checks the page as built. Someone reads the rendered Japanese page the way a customer would, on a phone, and flags what feels wrong, because a technically accurate translation can still read as unnatural to a native speaker. Practitioners describe this as an uncanny valley effect, and it is the reason translation alone keeps failing on Japanese sites.
Then run the device matrix. Check iPhone Safari, Android Chrome, recent desktop browsers and Windows display scaling. Verify no clipped kanji, no overflowing buttons, no fallback font surprises, no broken vertical or horizontal rhythm, and that every link, form submission and error state works in Japanese.
If you can, put five Japanese users in front of the key pages with tasks rather than opinions: find the pricing, start a trial, contact support. Task failures tell you what to fix; satisfaction questions mostly tell you what you hoped to hear.
Launch to a slice of traffic first, watch analytics and support tickets for a couple of weeks, and keep a rollback ready. After launch, wire Japanese into the same release process as English so the site does not quietly drift out of sync. Maintenance, not the first translation, is where small teams lose the most time.
Common Mistakes
Machine translation with no human pass. Reviewers spot it immediately, particularly in katakana loanwords. Fix: machine translation for drafts, a native linguist for anything a customer reads, plus a glossary so the same word never drifts.
Copying English layout decisions. Buttons sized in characters, 14px body text, sparse pages. Fix: size elements to content, set 16px minimum, test at real viewport widths, and treat layout review as part of translation QA.
Ignoring Japanese search language. Literally translated metadata and keywords underperform because the Japanese term for your category is different. Fix: research Japanese queries before writing tags, and write fresh Japanese title tags and descriptions.
Leaving English in the interface. Mixed-language UI reads as unfinished. Fix: inventory every string in the CMS, including buttons, validation messages, error states, cookie banners and transactional email.
Assuming one Japanese version fits everyone. Residents and visitors need different payments, support and tone. Fix: decide the audience in step one and document the regional assumptions that follow.
Forced language redirects. Auto-redirecting visitors by IP is widely disliked and hurts trust. Fix: a visible switcher that remembers the choice, plus correct hreflang so search engines handle the rest.
Launching without native review. You will not catch register or tone problems, because you are not reading the sentence as a customer would. Fix: budget a native linguistic QA pass and an in-context review before go-live, and treat it as a launch blocker rather than a polish item.
Frequently Asked Questions
What is the difference between translating and localizing a website for Japan?
Translation moves the words from one language to another while keeping the structure intact. Localization adapts the whole experience: script choice, politeness register, typography and line breaking, form fields, dates, currency, addresses, search terms and support channels. A literal translation often reads as stiff or slightly wrong in Japanese even when every word is accurate, which is why localization is the standard for customer-facing pages.
Do I need a separate domain or URL for Japanese users?
Usually a /ja/ subfolder on your existing domain is enough. It keeps your authority and analytics in one place, avoids new contracts, and makes a third language easy later. A subdomain or country-code domain only pays off when you have a local entity, a local partner, or hosting close to Japanese users. Whichever you pick, set hreflang so each version points at the others.
Do I need a native Japanese reviewer if I use an AI translation tool?
Yes, for anything a customer reads. AI output is reasonable for drafts, internal UI strings and repetitive lists, and it has improved a lot. But native reviewers still catch wrong katakana loanwords, wrong politeness level, and phrasing that is technically accurate and socially off. Budget a native linguistic QA pass plus an in-context review on the built pages before you launch.
How long does it take to localize a website for Japan?
A mid-size marketing site usually takes six to twelve weeks from research to a confident launch. Translation is rarely the longest phase. Glossary and style guide work, review cycles, and device testing eat most of the calendar, and they get longer if feedback arrives late. Small sites with a handful of pages can move much faster. Plan the review rounds up front, because they are what actually sets the date.
How much does Japanese website localization cost?
Cost tracks word count, page count and how much adaptation the content needs. Straight translation of body copy is the cheapest. Localization with glossary work, transcreated headlines, native review, in-context QA and ongoing maintenance costs meaningfully more per word. Get quotes for a defined scope with a named reviewer rather than a per-word rate alone, and ask what is included for updates after launch.
Conclusion
Localizing a website for Japan is a sequence of small decisions made in the right order: audience first, glossary second, language third, layout and technical setup alongside it, and native review last. Miss any one of them and the Japanese pages read as unfinished.
Start with four things this week. Write down who the Japanese version is for and which regional assumptions follow. Draft a glossary covering your top twenty recurring terms and the words that must stay in English. Spend an hour reading the Japanese pages of three competitors, their pricing, their contact form and their support page. Then translate one page, build it at a /ja/ URL, and put it in front of five Japanese users before you translate the other ninety-nine.