Japanese retro console mods are changes to Japanese-market hardware — Famicom, Super Famicom, Mega Drive, PC Engine, Saturn, Dreamcast, PlayStation, Nintendo 64, GameCube and PSP — that add region-free playback, modern storage, better video and audio, or repairs to parts that have aged past working order. Some mods need a soldering iron; others plug into a slot and take a minute. This guide sorts them all out, including what is legal, what parts cost relative to each other, and which consoles you should leave alone.
I live in Japan and buy my own hardware from the same secondhand chains and specialist shops most readers will use, and the thing that trips up newcomers is not difficulty. It is that almost every guide online was written for PAL or NTSC-U hardware, so the model codes, board revisions and video standards do not match the unit sitting on the bench in front of you.
Table of Contents
- 1What Are Japanese Retro Console Mods?
- 2Which Japanese Retro Consoles Are Most Often Modded?
- 3What Can Be Modified on Each Console?
- 4Japanese Retro Console Mods Explained by Mod Type
- 5Are Flash Carts and Region-Free Mods Legal?
- 6How Do You Choose a Compatible Mod?
- 7What Should You Check Before Buying a Console in Japan?
- 8Where Do Hobbyists Source Mods and Parts in Japan?
- 9How Difficult Are the Modifications and Can They Be Reversed?
- 10What Affects the Cost of a Retro Console Mod?
- 11How Do You Avoid Common Modding Mistakes?
- 12Frequently Asked Questions
- 13Is it worth modifying a retro console bought in Japan?
- 14Do I need soldering skills to add a flash cart or drive emulator?
- 15Will a Japanese console mod work with games and accessories from other regions?
- 16Can a modified console still be sold or returned?
- 17Should I buy an already-modified console or modify one myself?
- 18Conclusion
What Are Japanese Retro Console Mods?
A mod changes how a console behaves. A repair puts back what the factory originally did. An accessory adds something alongside the original design without opening the case. Once you can tell those three apart, most modding advice makes sense.
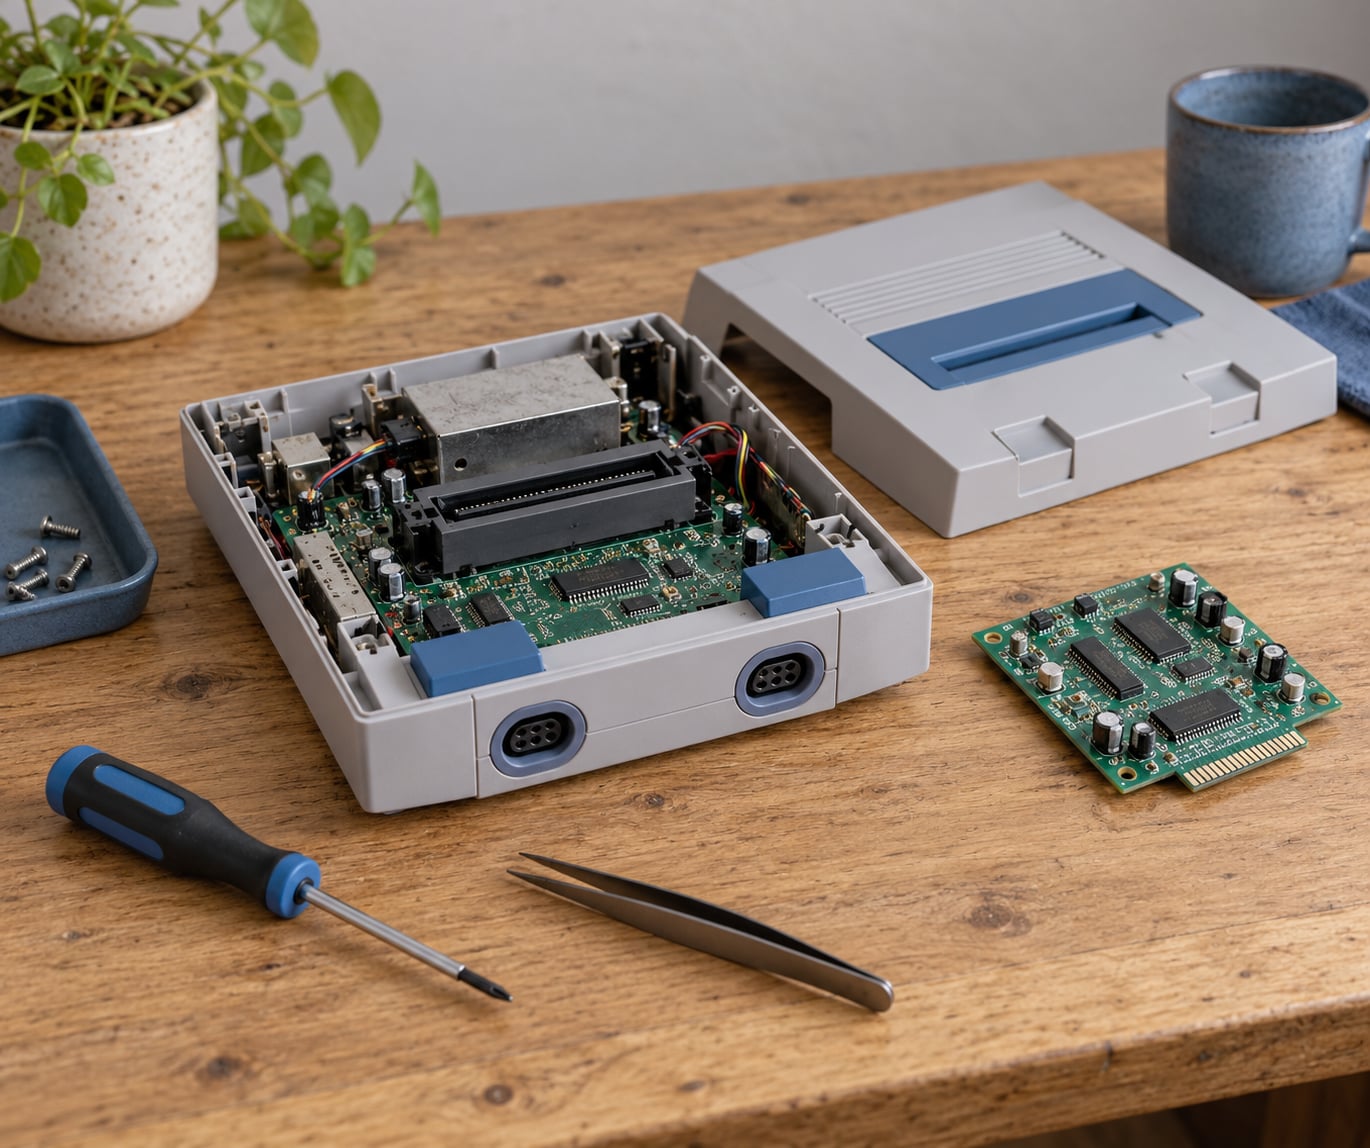
Mods split two ways. A softmod uses firmware, a memory card or a network exploit, so nothing is cut or unsoldered and you can undo it in a minute. A hardmod means opening the shell and physically changing the board — soldering wires, cutting a trace, drilling a hole for a connector.
Japanese-market hardware is a special case for three reasons. Domestic releases were limited, so many titles never left the region. Video ran to the NTSC-J standard at 60Hz, which behaves differently from both NTSC-U and PAL on a modern display. And several Sega machines shipped with FM audio hardware that Western models left out.
Add ageing capacitors, tired laser units and rubber pads that no longer seal a disc properly, and modification stops being decoration. On a lot of Japanese hardware it is the only practical route to a console you can actually use.
Which Japanese Retro Consoles Are Most Often Modded?
The consoles below come up in almost every Japanese modding forum thread, and each has a characteristic mod goal and a characteristic difficulty. Difficulty assumes you have a multimeter and basic soldering skills already.
| Console | Most common mod goal | Main challenge | Difficulty | Reversible |
|---|---|---|---|---|
| Nintendo 64 (NTSC-J) | Display upgrade to HDMI, expansion audio | Identifying early and late board revisions | Medium to hard | Partly |
| Game Boy, Game Boy Color, Advance | Screen replacement, speaker swap, case and shell work | Fragile ribbon cables and brittle housings | Easy to medium | Yes |
| PlayStation 2 (PS2) | Storage or loading solution in place of the disc drive | Network adapter variants and firmware revisions | Easy to medium | Yes |
| Dreamcast | Drive emulator, controller adaptor, VGA output | GD-ROM versus plain unit, case screw types | Easy to medium | Yes |
| Saturn | Flash cartridge for the disc drive | Huge case screws and tight board access | Medium | Yes |
| PSP | Memory card slot bypass, internal storage | Sony memory card licensing, firmware pairing | Medium | Yes |
Two notes on this table. Handheld work is the easiest entry point because the parts are small and mistakes are usually recoverable. The Nintendo 64 sits at the other end because early Japanese and later Japanese boards are different animals electrically, and a guide written for one will not fit the other.
What Can Be Modified on Each Console?
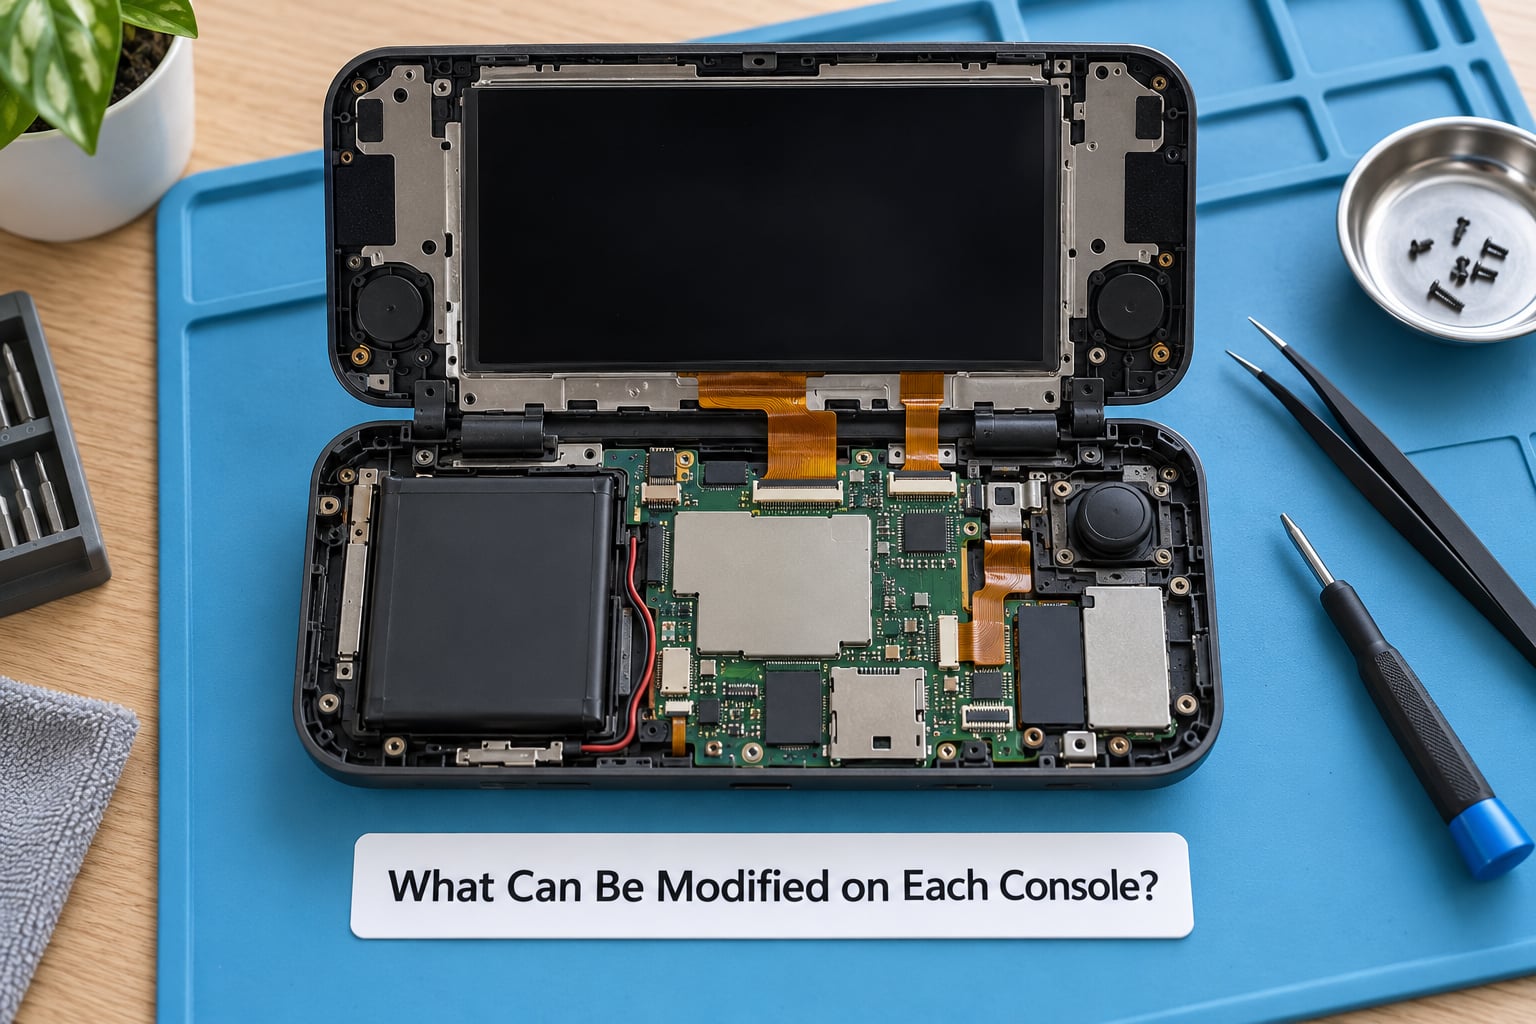
Load and save solutions come first. Flash cartridges slot into a cartridge port where one exists, and optical drive emulators sit behind the disc tray on machines that use discs. Both add backup loading and save states without touching the region circuitry.
Display work is the second category. A stock Japanese console usually outputs composite video through a proprietary pinout, so a modder adds a converter or replaces the output path to reach HDMI or RGB. On the handhelds, a tired LCD is usually replaced outright rather than modified.
Controller adaptation comes third. Japanese pads rarely match the layout a modern player expects, so adaptor boards convert them without altering the console at all. Region handling is the fourth category and the only one that requires board-level work on most machines, since it involves a check inside the firmware or a dedicated lock chip.
Shell and control-panel work is cosmetic or ergonomic. It is also the easiest category to make irreversible, so it is worth doing last.
Some jobs are not mods at all. Replacing leaking capacitors, cleaning a laser lens, or fitting new rubber pads brings an original machine back without changing a single behaviour.
Japanese Retro Console Mods Explained by Mod Type
Every mod falls into one of four buckets: software-only, load-and-save hardware, video and audio hardware, or region handling. Software-only work is cheapest and safest to reverse. Region handling carries the most risk to the console’s originality and is the one category worth thinking hardest about before starting.
| Mod type | What it does | Difficulty | Reversibility |
|---|---|---|---|
| Software or firmware | Adds loading and save functions without opening the case | Low | Full |
| Flash cartridge or drive emulator | Loads backups and saves to memory | Low to medium | Full |
| Display and audio output | Converts composite or RGB video to HDMI, adds FM audio | Medium | Usually full if soldered, not if drilled |
| Region handling | Bypasses the region check on imported discs | Medium to high | Partial |
| Shell and controls | New case, buttons, port cutouts | Low | Only if no material is removed |
Are Flash Carts and Region-Free Mods Legal?
Owning a console or a cartridge you bought is legal. Copying a game you do not own is not, in Japan or anywhere else, and Japanese copyright law is stricter than most Western visitors expect. Region-free hardware is sold openly and is not itself the problem; the software you put on it is. Law varies by country, so if you are not a resident, check what applies where you live before shipping hardware across a border.
The same reasoning applies to backups. Making a backup of a disc you legally own is generally treated differently from downloading one, and modding a machine makes it easier, not automatically acceptable, to do either. The defensible position for most hobbyists is backups of software they own plus homebrew, and nothing else.
How Do You Choose a Compatible Mod?
Start with the exact model code on the underside of the console, not the family name. A Japanese Mega Drive, a PAL Mega Drive and an American Mega Drive look nearly identical and take different parts.
Then check what the manufacturer changed between revisions. Later boards often move test points, change chip types, or tighten the case around the ports a mod needs to reach. A kit that lists your console name without listing a revision number is a kit you should be careful with.
Finally, ask whether the mod can be undone. Soldered mods usually can be removed by a skilled hand. Drilled holes, cut plastics and glued parts cannot. If your console is rare, that difference decides it for you.
What Should You Check Before Buying a Console in Japan?
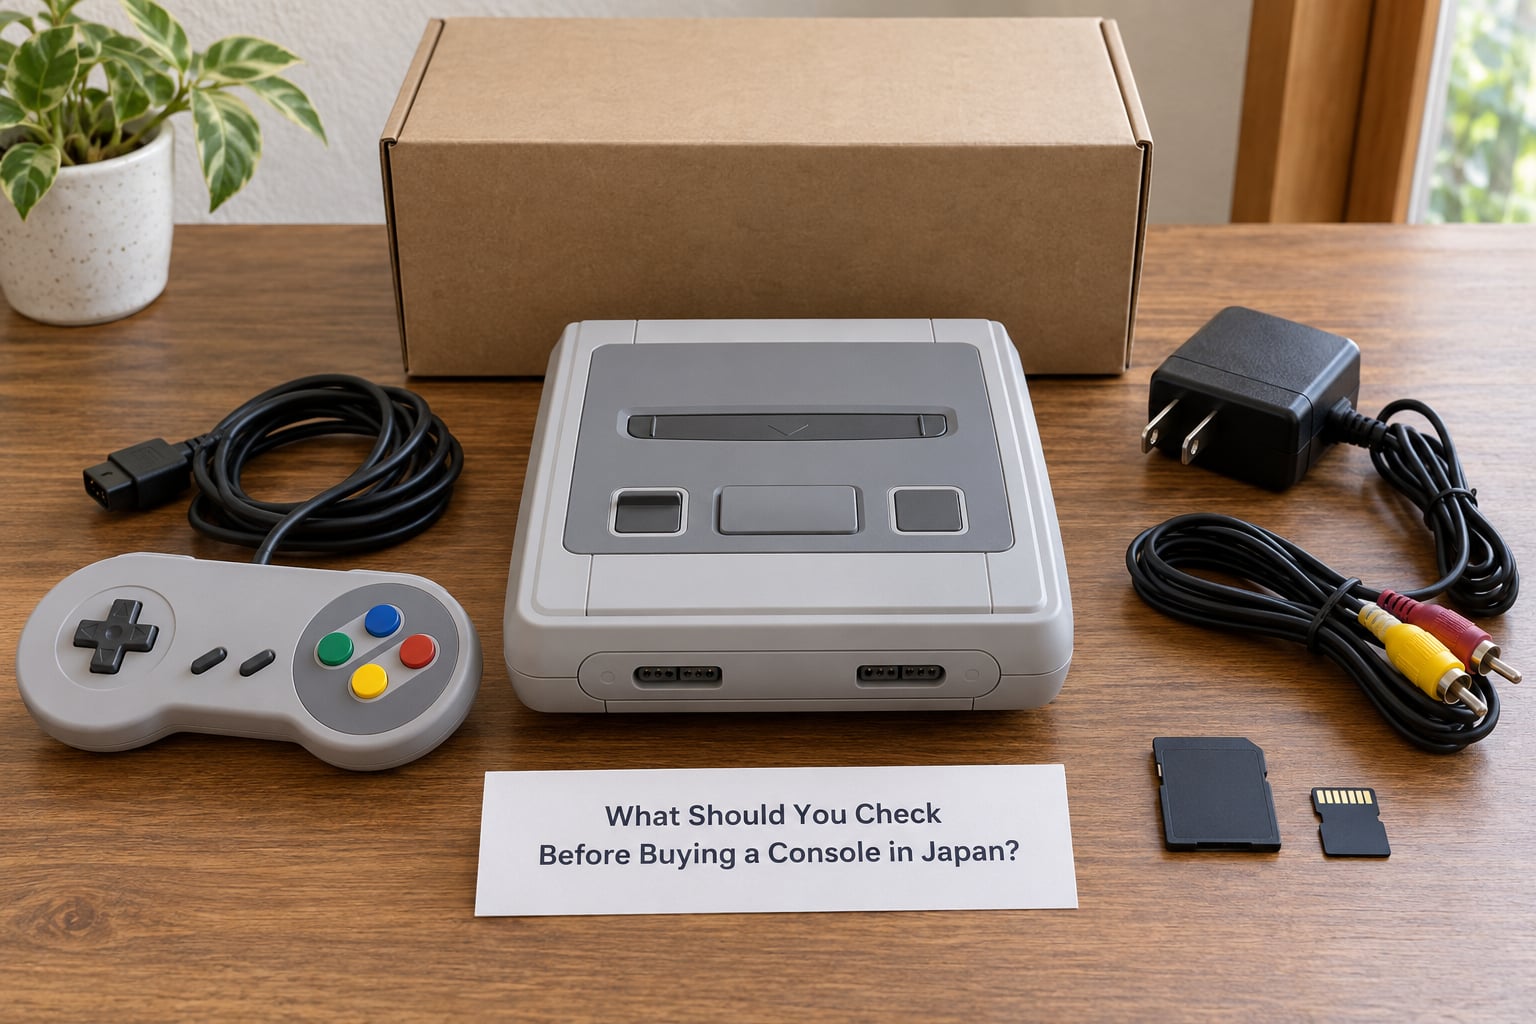
Model and revision first. Photograph the label on the base before anything else, because that photo is what you will use to order parts at home.
Region markings next. Japanese units are usually marked as such in Japanese script, and the voltage label tells you whether the power supply is domestic or imported.
Check what came in the box. Japanese console bundles often shipped with different controllers, cables and memory cards than overseas bundles, and the wrong controller alone can stop a console from being useful.
For handhelds, inspect the battery compartment for corrosion and press the screen gently to look for a dim or dead line. For disc machines, listen for grinding and check that the tray closes smoothly.
Ask whether the firmware has been written to. A Japanese PlayStation 2 that has already been used for software has lost part of its originality, which matters if you plan to keep it long term.
And check the record before you commit: has the case been opened? Do the screws show tool marks? A console that has already been modified is not necessarily bad, but you should know before you pay for it.
Where Do Hobbyists Source Mods and Parts in Japan?
Akihabara’s specialist electronics shops remain the main source for board-level parts and tools, and staff will often identify a board revision from a photo if you cannot travel there. It is the one place where you can hold several variants of the same part side by side.
Japanese online marketplaces are the broadest source and the one that suits a buyer living here. The problem is quality variance: listings for the same part can come from a manufacturer, a reseller and a hobbyist with no sourcing at all.
Used-goods chains stock donor machines and donor shells, which is the cheapest way to source a second unit to cut up. Buying a dead unit for parts is a normal move here, not a hack.
Hobby communities matter more than they look. Japanese-language boards and chat groups carry compatibility notes that no product page ever will, and they are where you find out that a kit quietly does not fit your revision.
Judge a seller on three things: whether they publish board revisions the kit supports, whether they show real installed photos rather than renders, and whether they will answer a compatibility question before you buy. A seller who refuses to discuss revision support is telling you something.
How Difficult Are the Modifications and Can They Be Reversed?
Difficulty runs from one to five. A one is a plug-in part with no tools. A five involves board-level soldering, trace work or a case modification, and is the point where a beginner should ask whether buying a different console would get them the same result.
Tools scale with the level. Level one to two work needs a small screwdriver set, an antistatic mat and a pair of tweezers. Level three adds a temperature-controlled soldering iron, solder, flux and a multimeter. Level four to five adds hot air, a microscope or magnifier and good lighting.
Failure risk is not evenly spread. The common mistakes are a lifted pad from pulling too hard on a connector, a solder bridge between fine pins, and static damage that shows up weeks later as a strange fault.
On reversibility, think in three classes. Software and plug-in work disappears in seconds. Soldered mods can be removed by someone skilled, though trace pads may never look perfect again. Anything cut, drilled or glued is permanent.
Before you start, read the manufacturer’s own instructions if they exist, take photos of every connector before unplugging it, and test each change before the case goes back together.
What Affects the Cost of a Retro Console Mod?
Japanese retail prices for parts and Japanese labour rates both change over time, so read this table as a shape rather than a quote. It ranks the categories relative to each other, which is what actually helps when you are deciding what to do first.
| Mod category | Relative cost | What drives it |
|---|---|---|
| Controller and cable adaptors | Lowest | Off-the-shelf, no tools |
| Software and firmware solutions | Very low | Often free once the console is present |
| Screen and battery replacement | Low | Standard part, straightforward fitting |
| Shells, buttons and cosmetic parts | Low to medium | Whether the part is genuine or a copy |
| Flash carts and drive emulators | Medium | Manufacturer, firmware support, revision coverage |
| Display and audio conversion kits | Medium | Board revision coverage, bundled parts, build quality |
| Professional assembly labour | Highest | Hours of bench work rather than parts |
Labour usually costs more than the part on a display conversion, which is why many first-timers do the easy categories themselves and pay a shop for the soldering.
How Do You Avoid Common Modding Mistakes?
Buying for the wrong revision is the most frequent failure, and it is entirely avoidable. Match the model number, then the board revision, before you order anything.
Ribbon cables on handhelds are fragile and the connectors are usually not latched. Lift them straight up, never sideways, and never pull the cable itself.
Solder joints fail quietly. Work on an anti-static mat, keep the iron temperature consistent, and use flux rather than trying to wick away a bridge with the tip.
Exposed board edges and cut traces can short against each other or against a screw. Insulate, and do not reassemble with loose hardware.
Using the wrong power supply is easier to do than people expect, especially with imported consoles. Match the voltage and the connector before the first plug-in.
Case work is where reversibility ends. Drilling for a port or trimming a shell can be undone only by replacing the part. Decide you are willing to keep that before you cut.
And buy from a seller who names the revisions they tested on. Counterfeit parts are the hardest to spot and the easiest to avoid.
Frequently Asked Questions
Is it worth modifying a retro console bought in Japan?
Usually yes, if you want to actually play it. Japanese units need a video conversion to look right on a modern display, and disc machines increasingly need storage help as drives fail. It is worth less if you plan to keep the console in a display case untouched, since a display conversion and region work both reduce originality. Decide which you want first, because the two goals pull in opposite directions.
Do I need soldering skills to add a flash cart or drive emulator?
For most consoles, no. A flash cart for a handheld or a cartridge-based machine simply slots into the port, and a drive emulator on a Dreamcast or GameCube usually needs only pluggers and a screwdriver. Soldering becomes necessary for display conversions, region work and hand-built cables. If you have never soldered, start with a plug-in mod and learn on something you can replace.
Will a Japanese console mod work with games and accessories from other regions?
Controllers, memory cards, cables and power supplies are the problem areas, not the games. A Japanese console expects Japanese-region controllers and, on disc-based machines, may reject imported discs without a region modification. A software-only or flash cart mod usually makes imported titles work without touching region logic. Check your controller and power supply against the manual before you assume anything else will fit.
Can a modified console still be sold or returned?
It can usually be sold, but a hard-modified console sells for less and the buyer will discount it. Soldered mods are generally understood; drilled cases and cut plastics are visible and harder to justify. Returns depend on the seller’s policy rather than on the mod itself, but most shops will not take back an opened console. Tell the seller what you have done before you buy from them.
Should I buy an already-modified console or modify one myself?
Buy pre-modified if you want the result and not the process, and check that the seller documents the board revision and the exact parts used. Modify it yourself if you want the console to stay original and you are willing to learn. A middle path works well: take a common console for the difficult work and a donor unit for anything that needs cutting. First-timers often do better on a cheap example than on a rare one.
Conclusion
Start by photographing the model label on the base and reading off the exact board revision. Then pick the least invasive mod that meets your goal — a software or plug-in solution for loading and saving, a display conversion only if your screen is genuinely unhappy with composite video, and region work last. Everything you buy will be for a specific revision, and that one habit prevents most of the mistakes people make on their first Japanese console.